Flutterアプリ開発講座 UI基礎編 その4

4|似たWidgetをメソッドにして返してみよう
前回の問題の答え
他にもやり方はあるので一例です。三つのColumnをRowで横並びにしています。
child: Container(
    height: 300,
    width: 300,
    child: Row(
      children: [
        Column(
          children: [
            Container(height: 100, width: 100, color: Colors.green),
            Container(height: 100, width: 100, color: Colors.black),
            Container(height: 100, width: 100, color: Colors.green),
          ],
        ),
        Column(
          children: [
            Container(height: 100, width: 100, color: Colors.black),
            Container(height: 100, width: 100, color: Colors.green),
            Container(height: 100, width: 100, color: Colors.black),
          ],
        ),
        Column(
          children: [
            Container(height: 100, width: 100, color: Colors.green),
            Container(height: 100, width: 100, color: Colors.black),
            Container(height: 100, width: 100, color: Colors.green),
          ],
        ),
      ],
    ),
  ),

Containerを返すメソッドを定義してみる
上の問題ではContainerを9つも並べています。縦横100を何回も書くのは大変ですよね。
なので、縦横100のContainerを返すメソッドを定義してみましょう。
これが縦横100の緑色のContainerを返すメソッドgreenSquareを定義するコードです。
Widget greenSquare() {
    return Container(height: 100, width: 100, color: Colors.green);
  }
これは、
「Widget型を返すメソッドgreenSquareを定義した。このメソッドは引数を要求しない。戻り値はreturn以下である」
という意味です。(※引数については後述)
コードの記述場所はここです👇
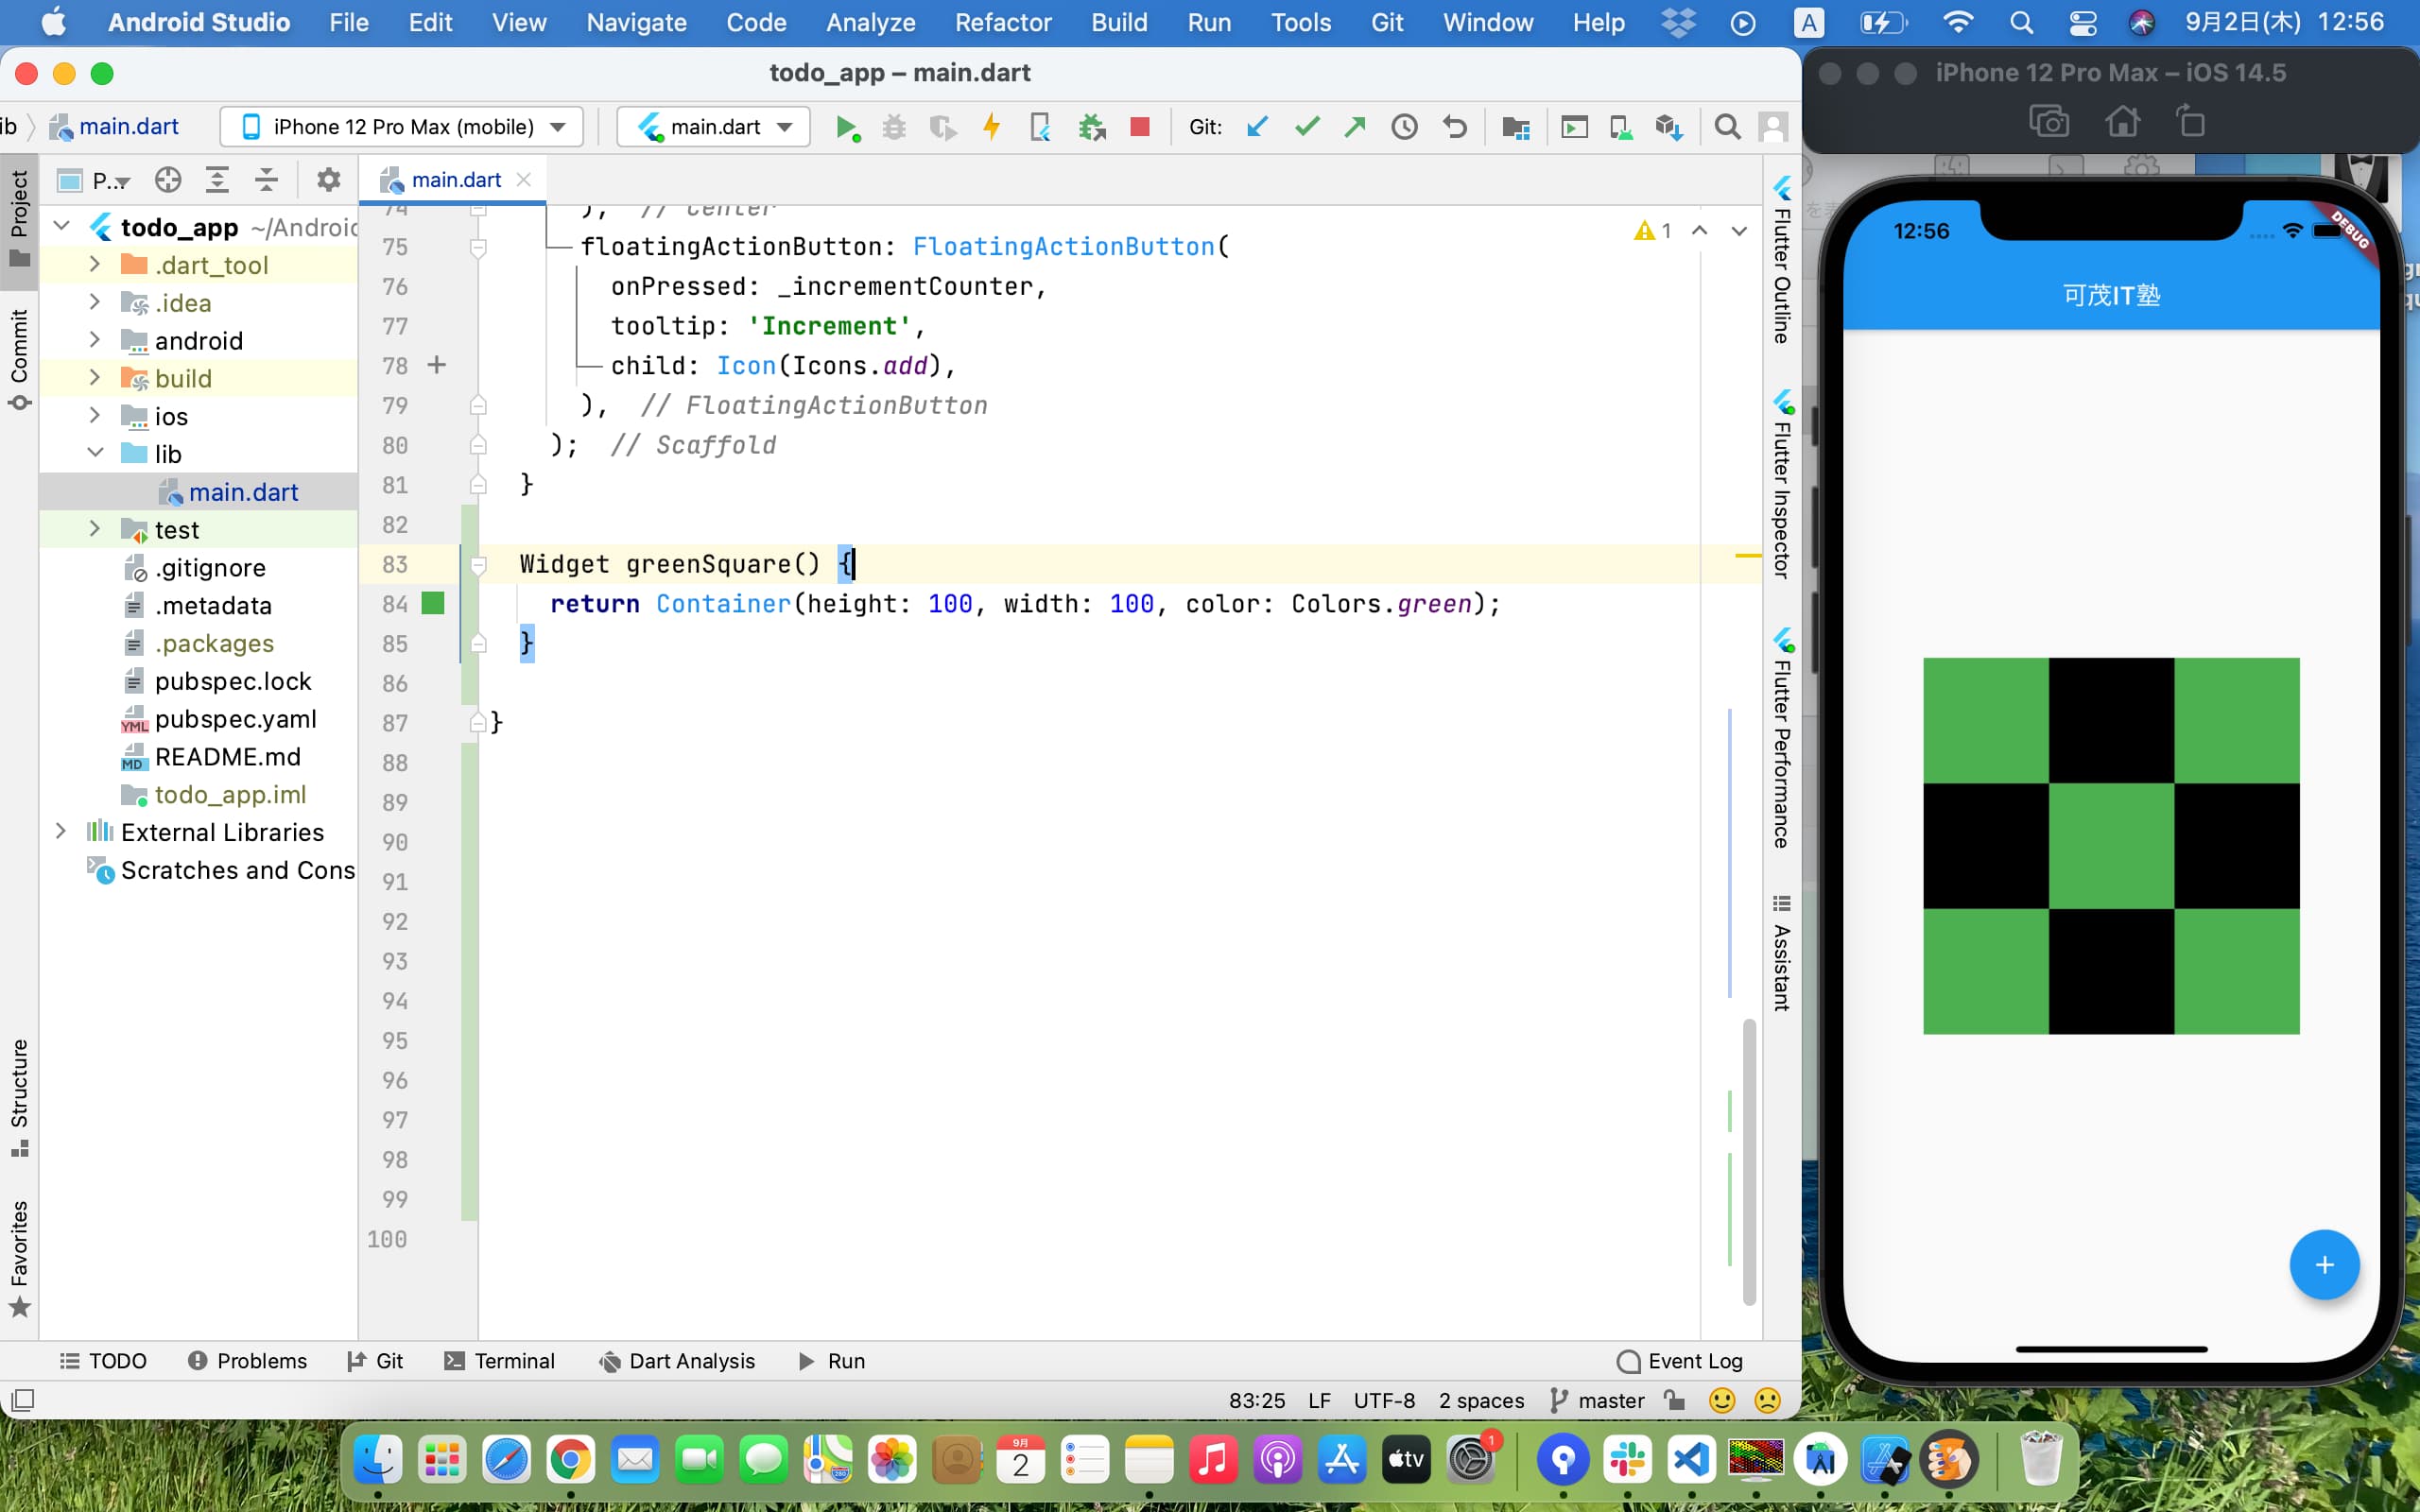
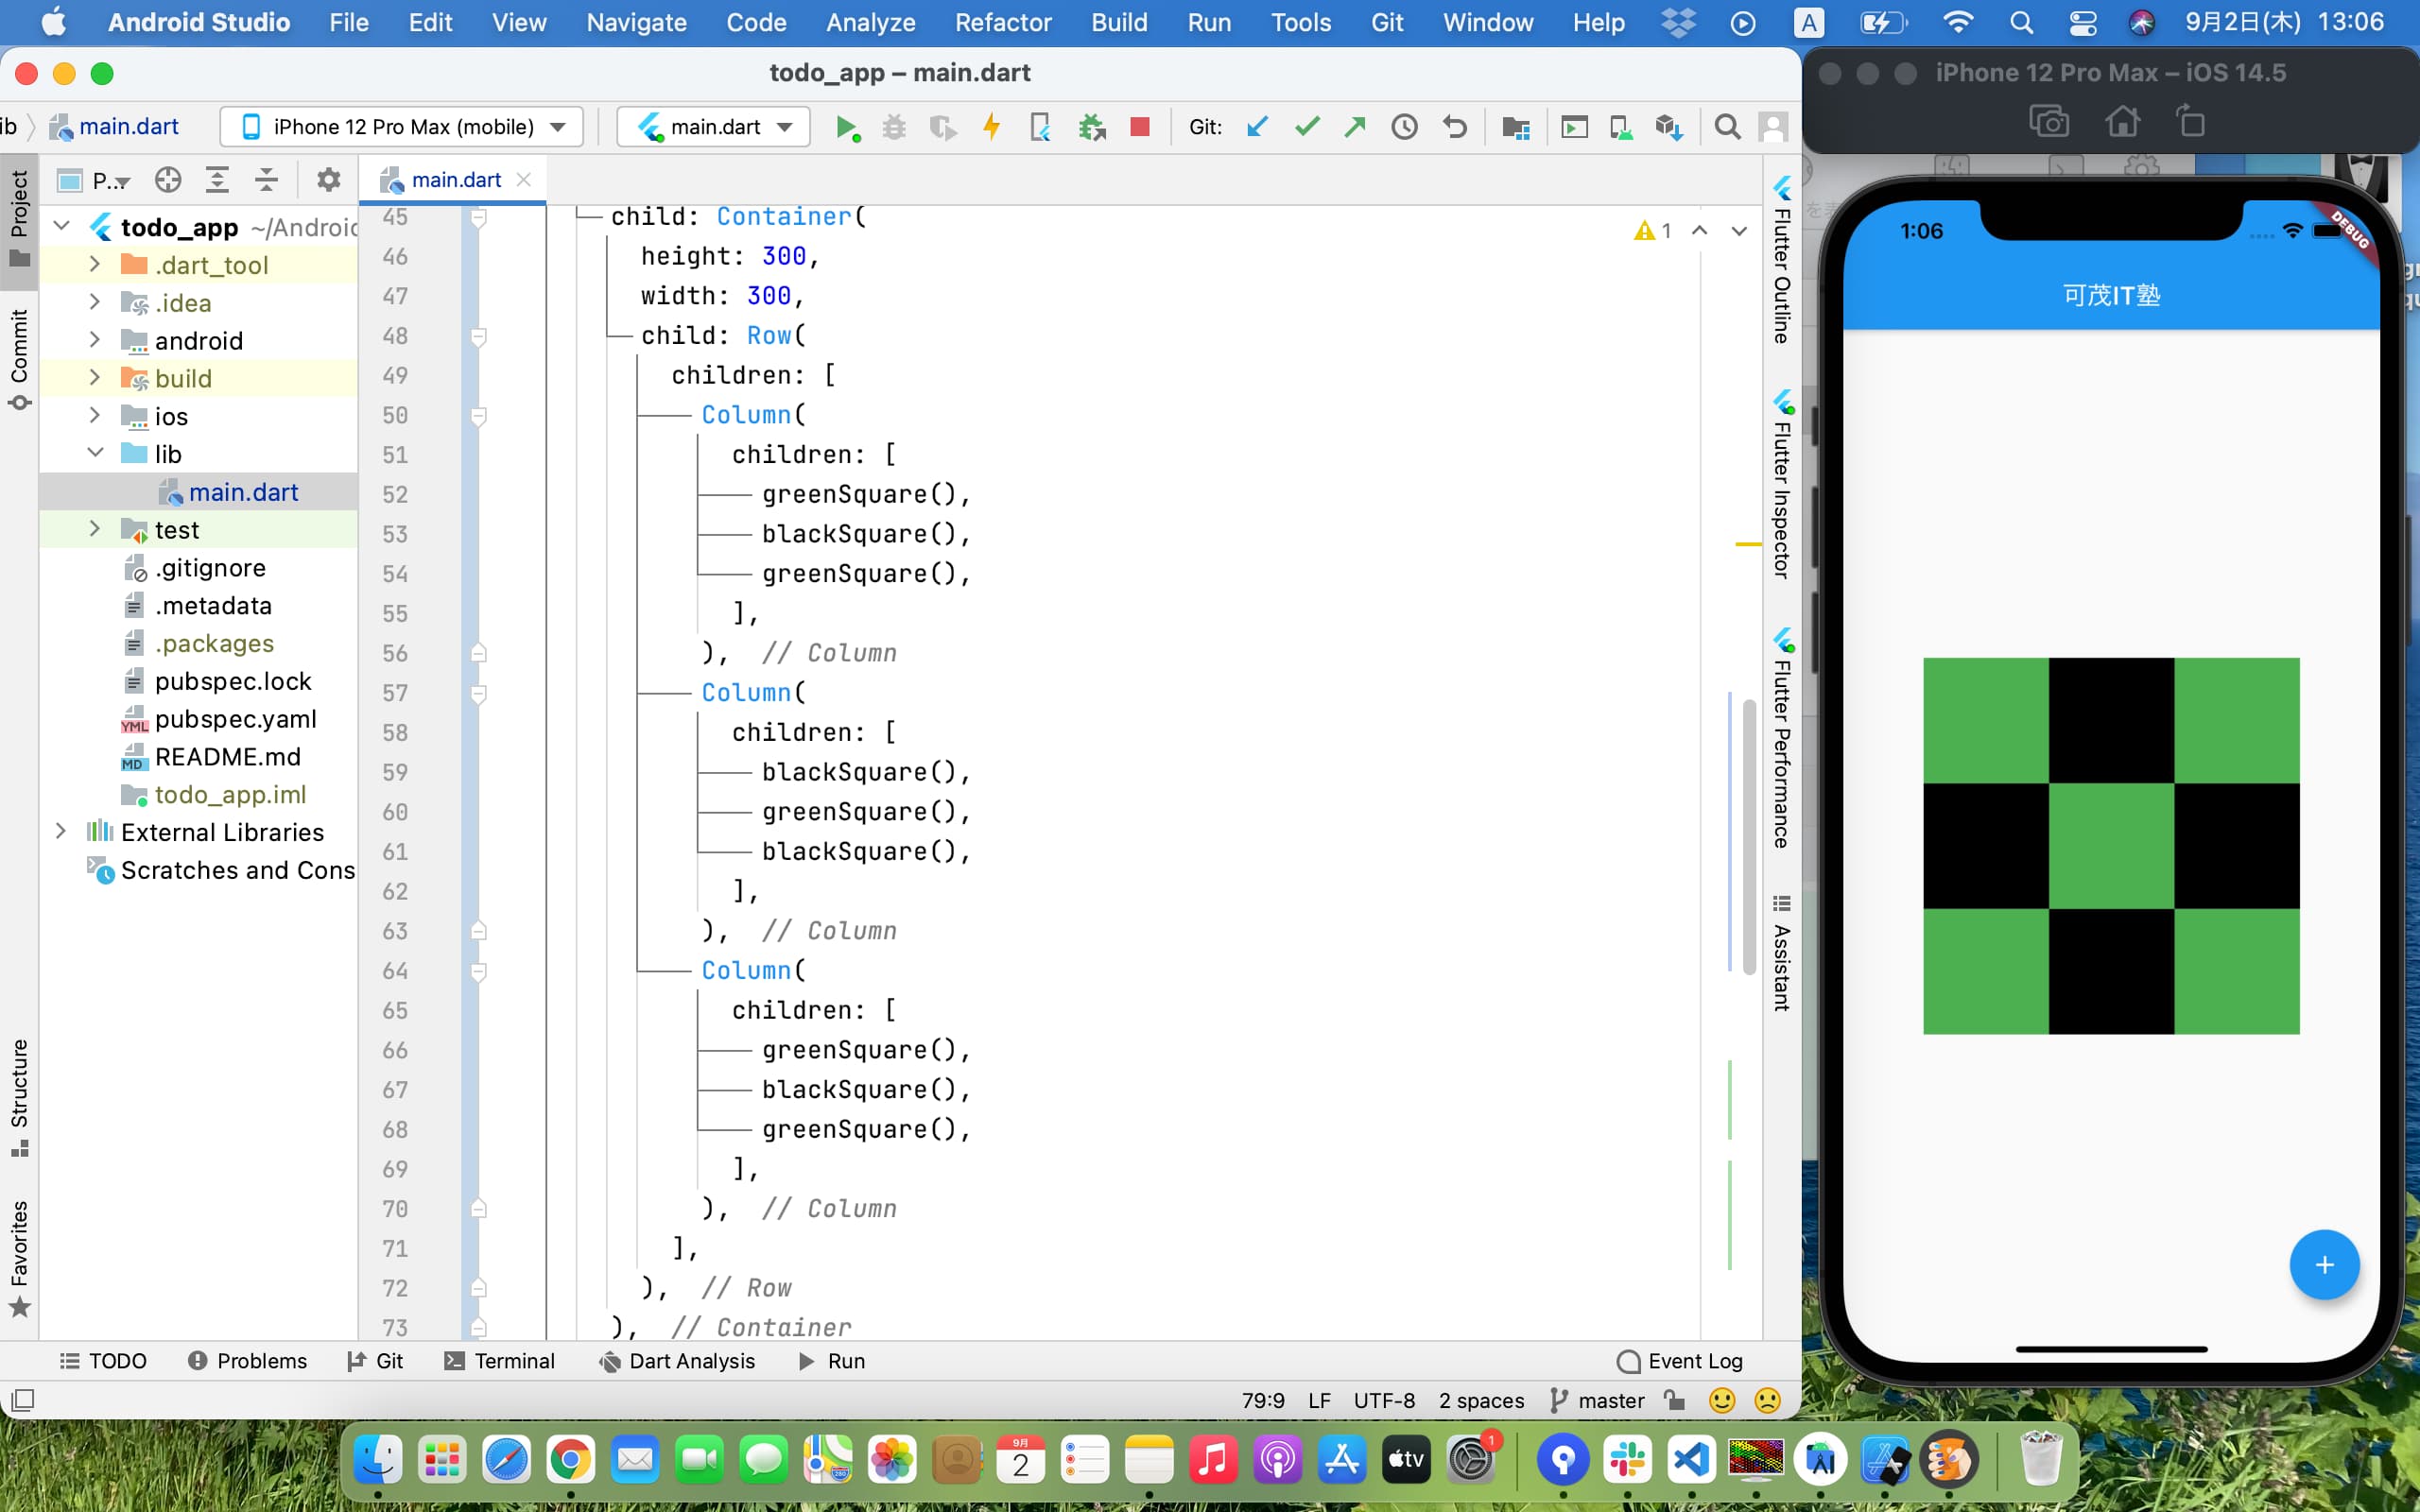
greenSquareメソッドが定義できたら、それを使ってさっきの市松模様のコードを書き換えてみましょう。
child: Container(
    height: 300,
    width: 300,
    child: Row(
      children: [
        Column(
          children: [
            greenSquare(),
            Container(height: 100, width: 100, color: Colors.black),
            greenSquare(),
          ],
        ),
        Column(
          children: [
            Container(height: 100, width: 100, color: Colors.black),
            greenSquare(),
            Container(height: 100, width: 100, color: Colors.black),
          ],
        ),
        Column(
          children: [
            greenSquare(),
            Container(height: 100, width: 100, color: Colors.black),
            greenSquare(),
          ],
        ),
      ],
    ),
  ),
変更後: 同じ表示になるはずです👇

では同じように黒い正方形も、縦横100の黒いContainerを返すメソッドを定義して、そのメソッドを使って書いてみましょう。
  Widget greenSquare() {
    return Container(height: 100, width: 100, color: Colors.green);
  }

  Widget blackSquare() {
    return Container(height: 100, width: 100, color: Colors.black);
  }

}
child: Container(
    height: 300,
    width: 300,
    child: Row(
      children: [
        Column(
          children: [
            greenSquare(),
            blackSquare(),
            greenSquare(),
          ],
        ),
        Column(
          children: [
            blackSquare(),
            greenSquare(),
            blackSquare(),
          ],
        ),
        Column(
          children: [
            greenSquare(),
            blackSquare(),
            greenSquare(),
          ],
        ),
      ],
    ),
  ),
変更後: スッキリしたコードで同じ市松模様を作ることができました👇
引数を要求するメソッドを定義してみる
引数(ひきすう)は、メソッドに渡すデータのことです。メソッドが要求するデータと言ったほうがわかりやすいかもしれません。
メソッドは受け取ったデータを使った処理を行い、値を返します。(処理だけ行って値を返さないメソッドもありますがややこしくなるのでここでは言及しません)
今回は引数として色を要求し、受け取った色の縦横100Containerを返すメソッドcolorSquareを定義してみましょう。
Widget greenSquare() {
    return Container(height: 100, width: 100, color: Colors.green);
  }

  Widget blackSquare() {
    return Container(height: 100, width: 100, color: Colors.black);
  }

  Widget colorSquare(Color bgColor) {
    return Container(height: 100, width: 100, color: bgColor);
  }

}
これは、
「Widget型を返すメソッドcolorSquareを定義した。このメソッドはColor型の引数を要求し、受け取った引数のことをbgcolorという名前で呼ぶ。戻り値としてreturn以下を返す」
という意味です。
では新しく定義したcolorSquareメソッドを使ってさっきの市松模様のコードを書き換えてみましょう。
child: Container(
    height: 300,
    width: 300,
    child: Row(
      children: [
        Column(
          children: [
            colorSquare(Colors.green),
            colorSquare(Colors.black),
            colorSquare(Colors.green),
          ],
        ),
        Column(
          children: [
            colorSquare(Colors.black),
            colorSquare(Colors.green),
            colorSquare(Colors.black),
          ],
        ),
        Column(
          children: [
            colorSquare(Colors.green),
            colorSquare(Colors.black),
            colorSquare(Colors.green),
          ],
        ),
      ],
    ),
  ),
変更後: 同じ模様を再現でき、コードがさらにすっきりしました👇